I silkscreen my own panel graphics on blank panels from Synthesizers.com. I get my printing supplies from Westar. They also have a "coat and burn" service that is a great time and effort saver for me. I just upload my panel artwork and in a week or two I get my screens, ready to print!
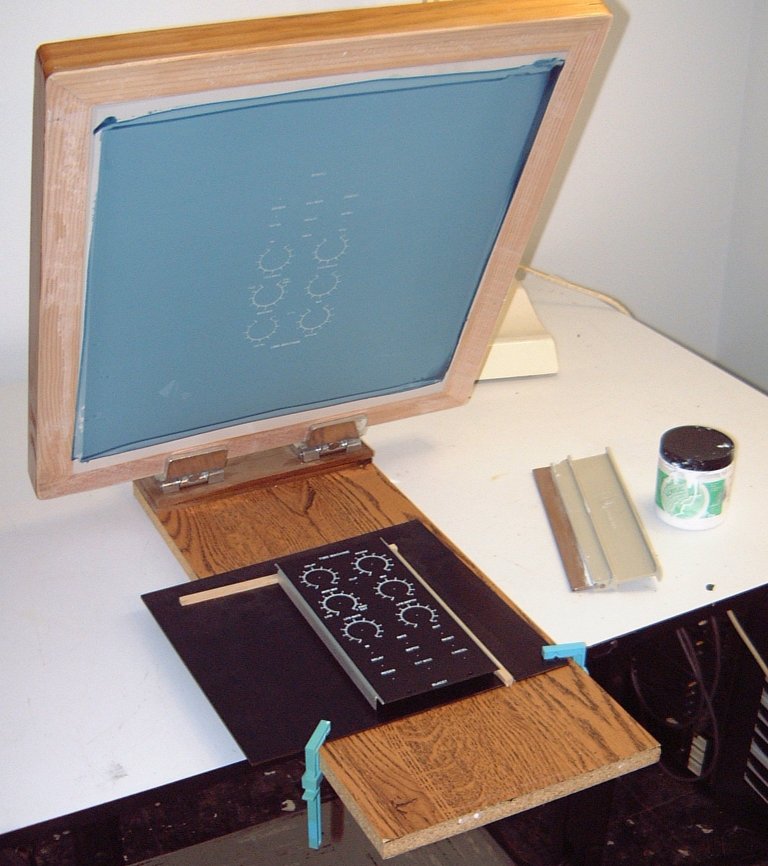
At left is the rig I have been using to print panels. It's just a board with "jiffy clamps" - a combination hinge/clamp - to hold the screen.
The black square thingy is a piece of phenolic with 2 wooden sticks glued to it for alligning the panels for printing. I clamp it down to the board once it's alligned with the screen.
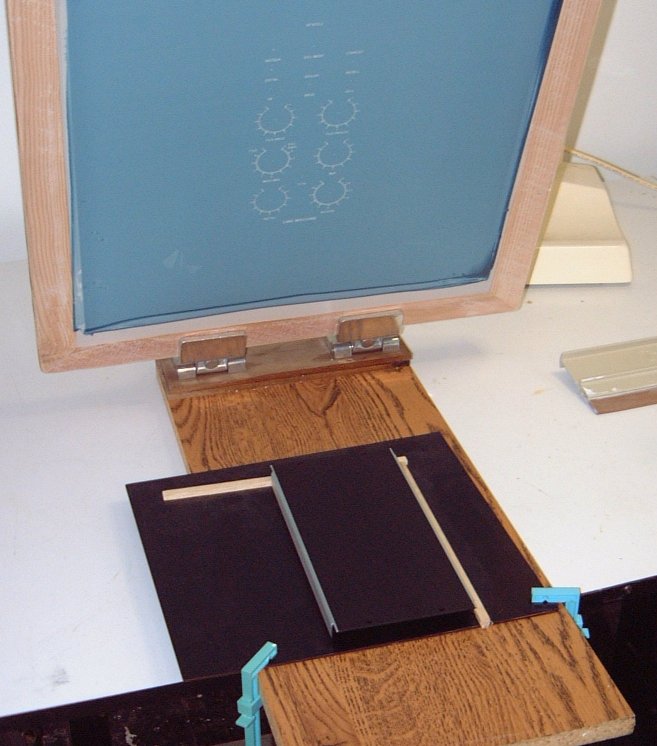
Here we are, with everything ready to go. Notice that you can just see the blank panel through the screen. This makes alignment pretty easy.
All that's left to do is to plop some ink on the screen (on the side, not on the area to be printed) and squeegee it across. I've been using Speedball white acrylic ink. It's not the greatest, but it works and it's what I had laying around.
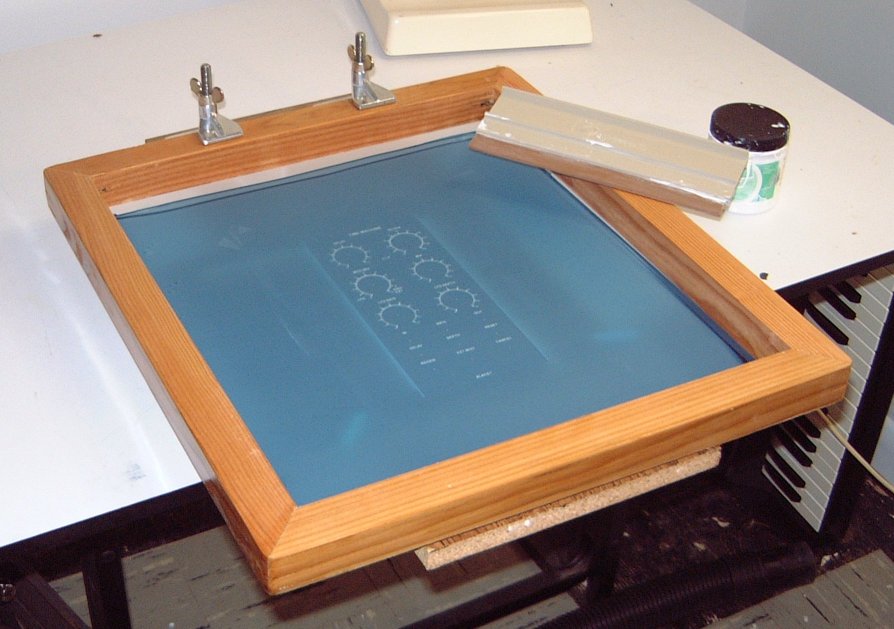
Raise the screen carefully and it's done! The trick is to have the screen held about 1/16" (1mm) above the panel, not touching it! I press down when drawing the squeegee, so only a small area of the screen touches the panel at a time. Otherwise, the panel can stick to the screen (the ink in the screen acts like a weak glue, and the panels are pretty lightweight). This can cause the printing to smear. I quickly and carefully inspect each panel, because when I goof, I have about 20 seconds (with the acrylic ink I'm using) to wash the panel off before the ink sets.